I added a small 'neck ruffle' by adding a few more inches at the bottom and then rounding off. One labeled A and the other B. Pin A to B and fold.
Butterick Baby Infants Bonnets Hats Ruffled Lace Brim Ties Pattern UC | eBay
Then press with your iron. Stitch along the line A.
- The true life diary of a wanderer!
- Crochet Hat | Crochet Patterns.
- Chicano Art Inside/Outside the Master’s House: Cultural Politics and the CARA Exhibition.
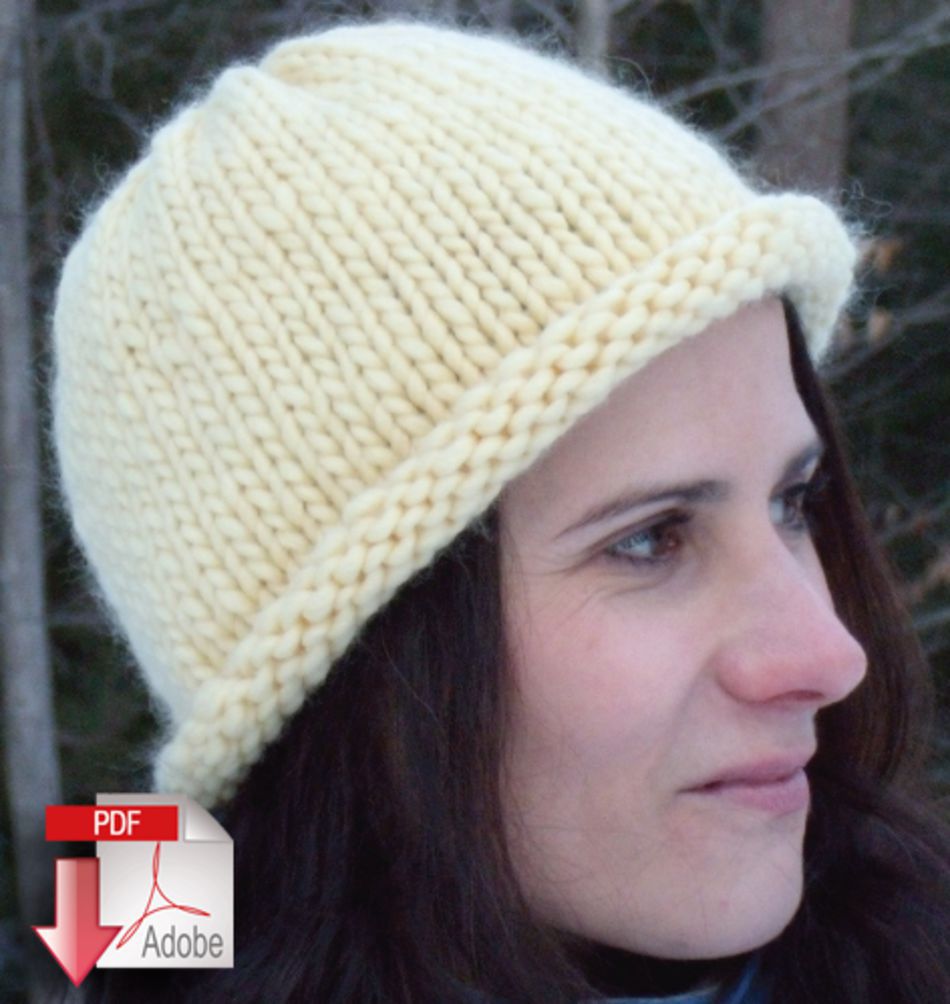
- Ravelry: Knit Rolled Brim bonnet pattern by Crochetmylove designs?
- Leterno marito (Biblioteca Ideale Giunti) (Italian Edition);
Black Circles Fold the casing toward the top and iron once more. Make a tiny hole in the center of the casing with your scissors before you top stitch. This will make it easier to pull your drawstring through at the center. This shows the top stitching on the casing. Cut a small piece of material about 12 inches long and 1 inch wide. Fold the raw edges into the center and inside, then press. Fold the drawstring in half once more and press. Thread your drawstring through the casing with a safety pin. When you pull the end through, pin the string in place so that it doesn't easily pull out.
Next, gently pull the drawstring through the hole in the center you cut preiously and pull the drawstring through until the opposite end is almost to the edge of the bonnet on the other side.
Pin the drawstring in place so that it doesn't pull through. To open up the bonnet a bit and make it larger, loosen the drawstrings. I didn't have any pellon on hand and the material I used was pretty light weight so I knew I needed something to give the brim a bit of firmness. Place right side pieces of the bonnet brim together and then add the pellon, if you have it, or a heavier weight of material that you have trimmed to fit over the top. Sew the brim together leaving the top part open for so that the brim can be turned inside out later.
After you have sewn the brim, trim the seam edge. Turn the brim inside out and press, getting as close to the outside of the edge of the brim and press neatly as possible. It can be a bit hard to press the seamed edges so I try to pinch and roll the fabric as much as possible so that I can press close to the seam edge.
This will leave no rolled under edges if you do it right.
The Helsinki Hat: Slouchy, Easy Roll-Brim Handknit Hat (Free Pattern!)
Fold in Top Edges. You do not have to do this step if you are using seam binding, like I did, but I wanted to show you what I was doing and why in the event I did not use seam binding on the brim. TThis was the reason why I cut the interfacing a bit lower than the outer brim pieces. This gives a nicer finished edge without raw edges of material showing. If you zig zag the edges closed, that will also work.
Crochet Hat
I have the top edges of the brim under the needle and they are off just a bit to show how they 'fit'. Bring both edges together and top stitch from the first open end of the brim to the opposite end. I chose the black binding so that it could be seen better. But the striking contrast turned out pretty cool…better than I thought! Start stiching about 1 inch away from the pinned bias edging and sew the binding aroung the entire cap. Make sure the raw edge of your back bonnet cap is exactly entered in the middle of the binding before sewing.
- Oraciones Que Producen Cambios: Poderosas oraciones que dan esperanza, sanan relaciones, traen libertad financiera Y mucho ma! (Spanish Edition).
- Fluorescence - Organ?
- Stress, Coping, and Relationships in Adolescence (Research Monographs in Adolescence Series).
When you come close the end of sewing your binding around the entire cap, cut your binding at an angle again and place the remainder over the beginning of the cut binding. Sew over the top so that both are sewn together with the bonnet material sandwiched firmly inbetween. Both pieces are finished with the binding in place.
Insights from a generally narcissistic and sometimes crazy knitter and mother of one..
The last thing is to place your button holes for buttons, or snaps. The placement is on the pattern but briefly it works like this….. Fold the cap in half and pin in the center. Match these two pin points and re-pin. Next, take the top of the bonnet brim on either the right or left and pin it to just above the top stitching of the casing.
Match the other side and pin in place. This marker should be different from all the other markers. It is a special marker.
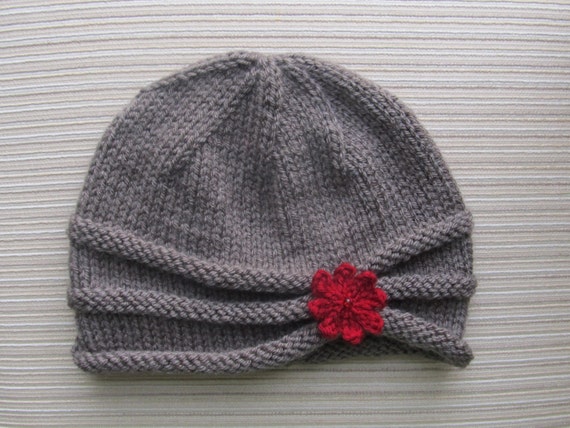
Baby-Button-Bonnet-Free-Pattern-Instructions
Next, you will place a marker along the round denoting every space where a decrease will occur. For this pattern, you will create a set-up row by knitting 13 stitches, place marker, knit 13 more, place marker. Continue until all markers are placed and you are back at The Special Marker. There should be six markers placed total. Knit 11, K2tog, continue to end of round Next round: Knit 10, K2tog, continue to end of round Next round: Knit 9, K2tog, continue to end of round Next round: Knit 8, K2tog, continue to end of round Next round: Knit 7, K2tog, continue to end of round.
This is usually about the time I switch to double pointed needles because the circular needle becomes cumbersome.
Knit 6, K2tog, continue to end of round Next round: Knit 5, K2tog, continue to end of round Next round: Knit 4, K2tog, continue to end of round Next round: Knit 3, K2tog, continue to end of round Next round: Knit 2, K2tog, continue to end of round. You should have 18 stitches on the needles.
You can carry on decreasing but I think this is a good place to stop. Cut the yarn, leaving a tail of about 10 inches.
- Al Borde: La caída no es un suceso sino un proceso (Spanish Edition).
- ZOE (Pensamientos) (Spanish Edition).
- Lo straniero (Capolavori contemporanei) (Italian Edition).
Thread the yarn tail through a large-eye needle. Bind off with the needle by threading the yarn through all stitches and tying off. I kind of loop the yarn tail through the stitches a few times to get it really, extra bound off insert rolling eyes emoji here and then I tie a knot.